Wednesday, January 19, 2011

Everybody's doing it...Homemade Deodorant


Maybe it's just me, but everywhere I look people are making homemade deodorant. When I read about just how easy it is to make the stuff......well I certainly couldn't be left out. No wonder...."everybody's doing it!!!"  :)

Natural deodorant is really important to me.  Dad raised us to not use the stuff with aluminum in it, we always used "the rock" as we called it, the crystal rock. And yes it works, but it always causes my pits to get dry and itchy. I have really sensitive skin.

And then I have used all the natural brands, and while they kind of work they are pricey!!!  The last one I used was some natural stuff from Tom's of Maine.....I don't think it worked at all. Hmmmmm....maybe that's why I haven't seen any of my friends lately!!! :)

This is one of those recipes where you pretty much have everything on hand too!! How cool is that?

I want to give a special thanks to Homestead Revival for sharing easy instructions on making it!!!


You can find her post on it here


What you will need:


And below you can see the recipe in my pic, it's that easy.
(I doubled the recipe for our family)

1/4 c. baking soda, 1/4 c. cornstarch, 5-6 Tablespoons coconut oil

Before you mix these 3 ingredients together if you like add 5-20 drops of tea tree oil, I used 25 drops of lavender oil.

It says to use a mixer, and since I don't own one I used my hands. I'm kind of afraid of electrical appliances, I'm not sure why but they scare me.  Even blenders. Okay I hope your laughing now that I've confessed this little idiosyncrasy!!!
I mixed this stuff with my hands and it was FUN!!! And it moisturized my hands in the process (boy they needed it)


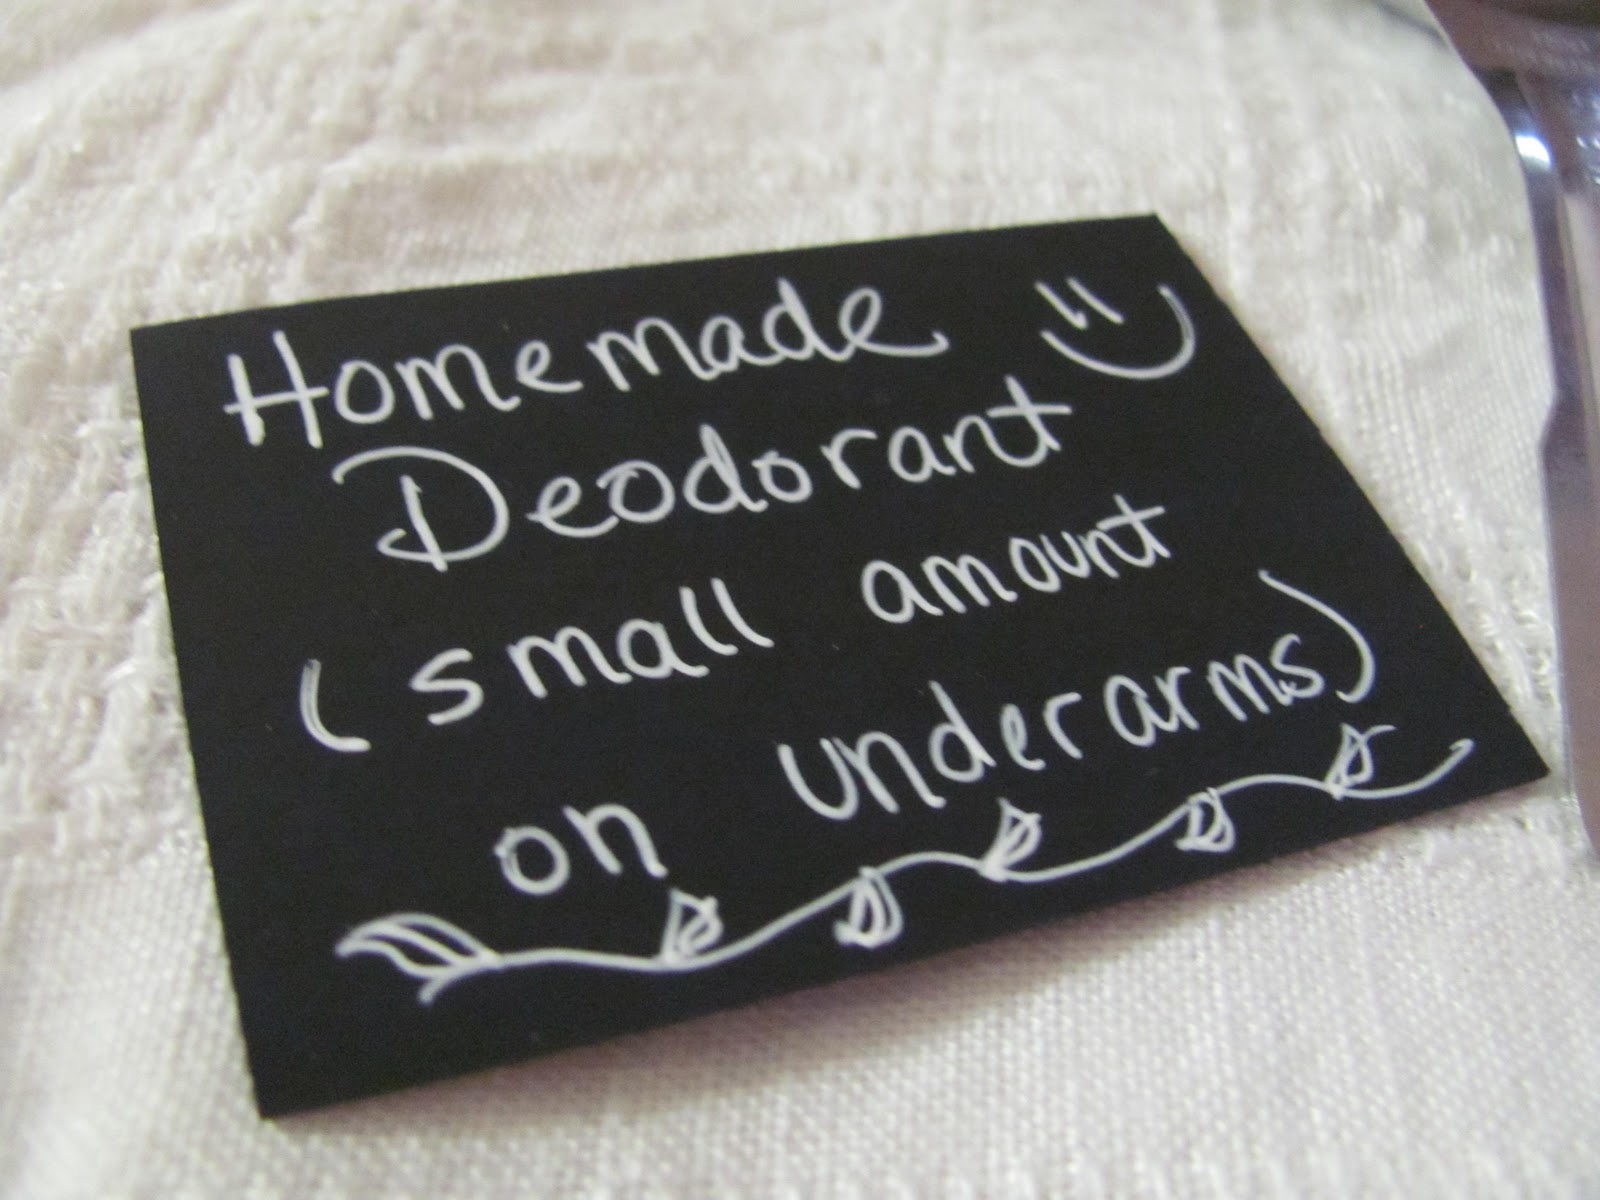
And of-course I can's have deodorant without in being in a pretty little container, I used a pint jar and added a floral label to the lid.


It even makes good decor for my bathroom shelf!!!!


So that's it......hope you enjoy making yours. And as I read on the Homestead Revival blog it only takes a very little bit!!!

It's here!!! IT'S HERE!!!!!!


That's right! My Baker Creek Heirloom Seeds catalog arrived in the mail yesterday, and I am in love again. :) Just kidding hubby!  It's more like a magazine chock full of so much interesting detail, information, quotes, recipes and more!!!

You can request your copy or shop their online store here.

Speaking of magazine, they do offer one.  It is $12.00 a year.  You can find it here


Two of my friends introduced me to Baker Creek last year.  And I was amazed at what this company has accomplished!!!! It's truly fascinating.  The other amazing part.......... they are in Mansfield, MO....a stones throw from us.  Every spring, summer, and fall they hold a Bakersville Piloneer Village Heritage Day Festival.........I truly cannot wait to go!!!

They even have a restaurant where you can enjoy a hearty meal during the festival, it is an Asian-themed vegetarian restaurant with a very historic atmosphere.  What I found unique is the restaurant is run by donations only, so all guests can afford to dine.  

You will love the catalog and all the amazing heirloom varieties, it is more like a work of ART!!!

My neighbor friend started several of their seeds indoors a couple of springs ago, and shared with me, and we loved them!!!  Now I just have to decide which varieties I want, so many unique ones to choose from.....this is going to be FUN!!! :)


Tuesday, January 18, 2011

Flourless Red Velvet Cake

 Well I have accomplished two firsts tonight: 1. I made a red velvet cake and 2. a flourless cake.
The process was unique and fun and I really appreciated the flavor and texture. I was inspired through the Mrs. Southern Bride Blog and needless to say I do not believe I can create a picture as alluring as the one she has shown of her red velvet bliss cake. :)

Oh yes! And I would like to add that I ran out of red food coloring so mine looks purple...guess you could call it a Magenta Velvet Cake. ha ha ha But here it is anyways.


Here is the recipe as found on her blog

(Flourless) Red Velvet Cake
(Source: Mrs. Southern Bride Blog)

Ingredients:
1/2 cup water
1/4 teaspoon salt
3/4 cup white sugar
1/2 Cup Bittersweet Chocolate Chips
1 cup unsalted butter
6 eggs
1 teaspoon Vanilla
1 teaspoon of White Vinegar
2 teaspoons of Red Food Coloring

1. Preheat oven to 300 degrees F (150 degrees C). Grease one 10 inch round cake pan and set aside.
2. In a small saucepan over medium heat combine the water, salt and sugar. Stir until completely dissolved and set aside.
3. In the microwave melt chocolate chips in 30 second increments, and stir until melted.
4. Cut the butter into pieces and beat the butter into the chocolate in your mixer. Slowly add the hot sugar-water, and beat in the eggs, one at a time. Add the vanilla, vinegar, and red food coloring until well blended.
5. Pour the batter into the prepared pan. Have a pan larger than the cake pan ready, put the cake pan in the larger pan and fill the pan with boiling water halfway up the sides of the cake pan.
6. Bake cake in the water bath at 300 degrees for 45 minutes. The center will still look wet. Chill cake for 2-3 hours in the freezer.

For the Glaze:

3 Tablespoons of Milk
3 Tablespoons of Cream Cheese
3-4 Tablespoons of Powdered Sugar
1/2 Teaspoon of Vanilla

Mix ingredients, until a creamy paste forms. Pour over individual slices of the cake. Enjoy!

(My Notes:  I did not have bittersweet so I used semi-sweet chocolate chips.  Also for the glaze I used 2 oz. of cream cheese and about 8-10 tablespoons of powdered sugar.)

What a wonderful treat it was!!!!


Creations by Kara


Pinto "Painted" Beans: 101


I grew up on beans.  Beans and cornbread. Not only were they cheap but my Dad loved them, always wanted Mom to keep a pot of them going on the stove.  Seems like Dad knew what he was doing.  Beans are good for you!!!  

According to the World's Healthiest Foods

When you "Combine the creamy pink texture of pinto beans with a whole grain such as brown rice.....you have a virtually fat-free high quality protein meal. 

Pinto beans have a beige background strewn with reddish brown splashes of color. They are like little painted canvases, รก la Jackson Pollack; hence their name "pinto," which in Spanish means "painted." When cooked, their colored splotches disappear, and they become a beautiful pink color. 

Pinto beans are a very good source of cholesterol-lowering fiber, as are most other beans. In addition to lowering cholesterol, pinto beans' high fiber content prevents blood sugar levels from rising too rapidly after a meal, making these beans an especially good choice for individuals with diabetes, insulin resistance or hypoglycemia. 
But this is far from all pinto beans have to offer. Pinto beans are also an excellent source of molybdenum, a very good source of folate and manganese, and a good source of protein and vitamin B1 as well as the minerals phosphorus, iron, magnesium, potassium, and copper."

You can read more about what they have to say about beans by clicking here.


So now that we know beans really are good for us, and as we all know budget friendly let me share with you my basic recipe for a "Pot-o-Beans"

Marie's Pot-o-Beans
(Serves 4-5)

2 to 2-1/2 cups dried pinto beans
7-9 cups water
5-6 Tablespoons of Knorr beef bouillon 

1. First measure out your beans and scoop a handful on a plate. Look through the beans for debris, bad beans, etc. Pick these out and throw them away.  
2. After you have sorted through all the beans put them in a small pot, run some warm water on them and swish them around with your hand to "clean" them.  After you have done this, strain the beans in a strainer and rinse some more. Repeat until you think they are cleaned.
3. Now lets cook our beans. In a large stock pot pour in your beans, 7 cups of water, and beef flavoring.  I prefer beef flavor more than chicken but this is totally up to your taste preferences.
4. Bring the pot-o-beans to a boil, when it comes to a good boil, place lid on pot and simmer for 3-4 hours.  As it cooks some of the water will evaporate, I usually add 2-3 more cups of water halfway through.

Thirty minutes before beans are finished cooking I like to cook some brown or parboiled rice.  My family loves to eat their beans over a plate of rice and if we have cheddar cheese to sprinkle on top it's even better!!!

My dear hubby was not so happy when I used to fix beans, and that was so disappointing to me because beans are such a cheap meal to add to the menu.  I finally learned it was the cornbread with the beans he did not like. When I started making rice instead to go with them and used the Knorr bouillon, he LOVED it! I mean he REALLY does. And that makes me happy!!!


LEFTOVER BEANS

I like to make a huge batch of beans and turn that into different meals through the week.  There are so many things you can make with them here are some ideas:

1. Make chili
2. With left over chili make Frito pie
3. With the left over chili, add a block of Velveeta for chili cheese dip!!!
4. Mash the beans up and put in tortillas, add your favorites, such as cheese or sour cream, roll up for quick and easy burritos.

These are just a few ideas, feel free to share what you like to make with leftover beans!!! :)


Sunday, January 16, 2011

Mama's Pound Cake


Tonight I mixed up a pound cake. And this wonderful recipe is compliments of Paula Deen.

Do you remember watching your Mom mix up a cake and anxiously awaiting the bowl......so you could lick it and the spoons clean?  My youngest was doing just that while I mixed this up....she gladly accepted it and this batter certainly met her approval.

I love how simple & basic the recipe is and it taste wonderful.  Paula would cringe but I did not use butter, I had to use margarine.  I love butter, especially when baking, but the budget did not allow real butter this week, and this still tastes great with margarine!!! :) I'm sure not as good though......


Mama's Pound Cake

Ingredients

  • 1/2 pound (2 sticks) butter, plus more for pan
  • 1/2 cup vegetable shortening
  • 3 cups sugar
  • 5 eggs
  • 3 cups all-purpose flour, plus more for pan
  • 1/2 teaspoon fine salt
  • 1/2 teaspoon baking powder
  • 1 cup milk
  • 1 teaspoon vanilla extract

Directions

Preheat oven to 350 degrees F.
With a mixer, cream butter and shortening together. Add sugar, a little at a time. Add eggs, 1 at a time, beating after each addition. Stir dry ingredients together in a bowl and add to mixer alternately with milk, starting with the flour and ending with the flour. Mix in vanilla. Pour into a greased and floured tube pan and bake for 1 to 1 1/2 hours, until a toothpick inserted in the center of the cake comes out clean.
(My Notes:  I used vegetable oil instead of shortening to insure a moist cake, it took 1 hour and 15 minutes to bake)


Thursday, January 13, 2011

Yummy Pumpkin Swirl Baked Oatmeal


When I was 15 I spent a summer in New Mexico with my relatives on their ranch and I enjoyed some very yummy foods that summer. One of them was baked oatmeal. WOW! My cousin would add some chocolate chips and it was so yummy for breakfast, even cold for a snack!!!

Last week on Brown Eyed Baker I noticed she shared a baked oatmeal recipe, found here.
You can find my version below:

Pumpkin Swirl Baked Oatmeal

2 cups quick oats
½ cup packed light brown sugar
1 teaspoon baking powder
1½ cups milk
½ cup butter
5-6 Tablespoons Libby's Pumpkin Pie Canned Mix.
1 large egg, beaten
Cooking spray
1. Preheat oven to 375°.
Stir all ingredients except pumpkin. Then spoon pumpkin on and swirl around a bit. Bake for 20-25 minutes.


Wednesday, January 12, 2011

Inspiration.....28 Steps to a Deep Cleaned Bedroom


Where to begin......We live in a little cottage (little) and while I admire "Wonder Women" and "Martha Stewarts" ....I am NOT one. I want to be, but it never seems to happen. :)  With such a cozy little place, (which I love) it can be hard to figure out where and how to store things. And since organization is not my niche, it seems I am sometimes doomed for failure.

Today I stumbled upon Raising Homemakers and really enjoyed her Homemaking Link-up and that is where I found:

Drum roll.........

Time~Warp Wife


OH MY! Her blog is so inspiring, and let me tell you I WAS Inspired! I read her article
and in 3 hours my bedroom was 85% deep cleaned. I ran out of time today and hope to finish up tomorrow.  Because I am out of printer ink I actually scribbled all 28 Steps down and went to my room and I meant business.  
Sadly my bedroom is dual labeled, one: as of-course a bedroom and the other as:.... Cringe and slap by hand....a "storage room".  I sell things on ebay, do crafts, and we have our own house cleaning business and there is no other place to put things.

While our bedroom still serves both purposes with her helpful instruction I was able to have a tidy looking room in no time. And hubby was mightily pleased!!!
Here is a little bit of what Darlene Schacht has to say:


"Bedrooms tend to accumulate stuff, whether it be clothing, jewelry, magazines or leotards, most of us have too much of it cluttering our drawers and our table tops. It shouldn’t be this way. The bedroom should be the most relaxing room in the house—a place where you can retreat to when you want to stretch out, or snuggle with your husband on a cool winter’s night. But there’s nothing relaxing or romantic about a room that’s cluttered and disorganized, is there?

I’m going to offer you 28 steps that will get your bedroom into the shape that it should be. Depending on the current state of your bedroom, this deep cleaning schedule could take you anywhere from one afternoon to a few, but in any case, the final result will be well worth your effort. I promise!

  1. Start by taking the sheets, pillow cases and blankets off the bed and throwing them into the washing machine. Set the timer so that you won’t forget they are there.
  2. Take your curtains down and get them ready to go into the next load.
  3. If you have blinds, wipe them down with a damp cloth.
You can read the rest of her AMAZING 28 Steps HERE

I am super excited about visiting her blog, she has a Housekeeping Schedule that I found inspiring as well. I have read many different schedules and ideas but something about hers really stuck with me!!!


Wordless Wednesday....Our Kitten Fluffers


Be sure to check out Wordless Wednesday @ Happily Domestic here

Pumpkin Pound Cake


So what is the rhyme or reason for food that I cook or bake? It's usually what i have on hand and then finding a new way to use it. I have a few recipe stand-bys but I tend to try new recipes often, I really like the variety!

Well I wanted to make a pound cake but I was out of butter....and I had pumpkin on hand, so I went to allrecipes and clicked on the ingredients section. I typed in that I wanted to use oil and that I did not want to use butter and this Pumpkin Cake recipe was one of them. You can find it here.

And below you will find my version with a few changes.

Pumpkin Pound Cake

Ingredients

  • 1 1/2 cups vegetable oil
  • 1-1/3 cups white sugar
  • 4 eggs
  • 3 cups all-purpose flour
  • 2 teaspoons baking soda
  • 2 teaspoons baking powder
  • 1 teaspoons ground cinnamon
  • 1 teaspoon salt
  • 1/2 cup solid pack pumpkin puree
  • 1-1/2 cups Libby Pumpkin Pie Canned Mix

(My Notes:  I changed this recipe by putting in much less sugar and using mostly the Libby's Canned Pie Mix instead of all just regular plain pumpkin. You will have leftover Pumpkin Pie Mix, put this in the frig and I have a wonderful baked oatmeal that you can use this in!!!)


Directions

  1. Preheat oven to 375 degrees F (190 degrees C). Grease and flour a 10 inch tube pan. Sift together flour, soda, baking powder, cinnamon and salt. Set aside.
  2. In a large bowl, combine oil and sugar. Add eggs one at a time and mix well. Add the flour mixture and beat until smooth. Add pumpkin and blend until smooth. Pour batter into greased 10 inch tube pan.
  3. Bake at 375 degrees F (190 degrees C) for 1 hour or until a toothpick inserted into the center of cake comes out clean. Cool in pan for 10 minutes, then turn out onto a wire rack and finish cooling. Dust with confectioners sugar before serving.


Tuesday, January 11, 2011

Homemade Cheese Crackers like Cheeze-Its


One of my friends had us over tonight and she decided it would be a lot of fun to make homemade Cheez-Its......not only did we have A LOT of fun but they were incredibly yummy and one batch was NOT enough!!!

We donned our aprons and went to town.
I love my apron, I got it for Christmas from my sweet Aunt Dana, it was re-purposed from a mans old button up shirt.


T. grating the sharp cheddar cheese


I had never heard of this kind of Paprika until my friend introduced it to my I highly recommend it instead of using regular Paprika. 


Homemade Cheese Crackers
She found the recipe from My Kitchen Snippets

Ingredients:

1 stick butter (113 grm) – at room temperature
1/2 cups grated sharp cheddar cheese
1/2 cups Flour
3/4 tsp salt
1/2 tsp of black pepper
1 tsp cayenne pepper (we did not add the cayenne and I am glad we didn't)
1 tsp of paprika (Hungarian Paprika highly recommended, has a wonderful smoky flavor)
2 tbsp of cold water (I think we for sure used 3)


1. Preheat your oven to 325 degree F. Line a baking sheet with some parchment paper.
2. Put all the above ingredients except water in a food processor. Pulse until it resembles coarse bread crumbs. Slowly add in one tbsp of cold water or a bit more until the mixture comes together into a ball. (We just mixed by hand)
3. Take out the dough and lightly floured work surface, give the dough a few knead and let it rest for half an hour.
4. Roll the dough out thinly about 1/8" thick. Cut out into desired shapes. (I used a pizza cutter and cut diagonal shapes)
5. Bake for 15-20 minutes or until the crackers start to get just golden on the edges
Remove the baking pan from the oven, and transfer the browned crackers to a cooling rack.


Here we are in our aprons. :)


I LOVE her French rolling pin....only slightly jealous. :)


Sooooooooo good.  You will be making them over and over again!!!

By Request: Vanilla Butter Cookies w/Lemon Buttercream Frosting


I made these cookies several months ago and they were Oh! so good!!!...A friend of mine requested the recipe so I searched my pile of scribbled recipes and found them! YAY!!!  I had seen some cookies on Etsy that totally inspired me to find something as "good looking" as they were. And yes they tasted as good as they looked!!!  These two separate recipes were found on www.recipezaar.com

Vanilla Butter Cookies

Makes 36 Cookies

1 cup softened butter
1 cup sugar
1 large egg
1 T. pure vanilla extract (the secret)
1/2 tsp. almond extract ( I did not use this just because I didn't have it on hand)
2 cups flour

1. Preheat oven to 350 F.
2. Cream butter and sugar.
3. Add egg, vanilla, and extract, and beat well.
4. Mix in flour.
5. Drop by rounded teasponfuls onto parchment-lined cookie sheet and bake 10-12 minutes.

(My notes: Do not over bake, let cool and then make sandwich cookies with the frosting recipe posted below).


Lemon Buttercream Frosting (From the Famous Sprinkles Cupcakes)

1 cup butter
3-3/4 cups confectioners' sugar
1 lemon, juice and zest of
1 tsp. vanilla
1/8 tsp. salt

1. Combine butter, sugar, and salt and beat till well combined.
2. Add lemon juice, zest and vanilla and continue to beat for another 3-5 minutes or until creamy.

(My NOTES: I didn't have a lemon, so I just used 1-2 Tablespoons of lemon juice.)

Monday, January 10, 2011

Vegetable Soup & Amish Bread Recipe


Easy Vegetable Soup
(original recipe found here).....my version below)

Ingredients

  • 35 oz. your favorite Spaghetti Sauce ( I used great value traditional sauce )
  • 6 cups water
  • 4 T. Knorr Beef Bouillon 
  • 2 cups frozen mixed vegetables
  • 1 can corn
  • 1/2 bag frozen green beans
  • 1 cup frozen peas
  • 1/2 cup frozen carrots
  • 8 oz. whole wheat Rotini

  • I also added 1 T. dried basil, some onion powder, pepper, season salt, and
  •  
  • Emerils original.  Just sprinkled in to taste.  Also threw in 1 1/2 T. sugar

  • Directions
  1. Place the spaghetti sauce and water in a large pot over medium high heat. Bring just to a boil, reduce heat to medium low and add the mixed vegetables.
  2. Bring to boil again, Add the pasta, and let simmer until heated through or until pasta is done, about 15 minutes.


Now I am sharing a recipe from one of my favorite cookbooks!!! The Wooden Spoon by Miriam Miller.  You can purchase it for around $10 bucks on Amazon, link below. :)


White Bread

1 cup white sugar
pinch of salt
2 T. yeast
1 cup oil
flour

Combine sugar, salt, 2 cups hot water, and 2 cups cold water. Make sure water is warm. Add yeast and let set until yeast dissolves. Add oil and flour to make a nice dough, not too stiff. Let rise; knead and let rise again. Shape into 5 or 6 loaves and put into greased pans. Bake @ 350 for 15~20 minutes. Do not overbake.  For light wheat bread, add 1 cup of whole wheat flour.


A friend taught me that when I knead the bread the second time to do it on oil.  I really like doing this.  I added 2 cups of whole wheat flour to this recipe.  I got 2 round loaves, a braided loaf, and I made a pan of cinnamon loaves!!!!


Rising


The cinnamon rolls were super duper yummy!!! :)


This loaf went really fast!!!! Saving the braided loaf for supper!!! We are having left over veggie soup!!! :)